
Fireplace: Structurally Speaking...
I know, I know....it's taking forever to get to the big reveal. Bear with me...I'm giving you the day-by-by play-by-play. Sometimes, my projects seem faster on this blog than they actually were because I usually consolidate the project into one or two posts. This time, I thought I'd give y'all a more accurate view into how long something like this actually takes me to complete. I work full-time, so I spend evenings and weekends working on projects. My hope is that this encourages those of you who are pressed for time that it IS possible to knock these projects out, if you just do a little at a time.
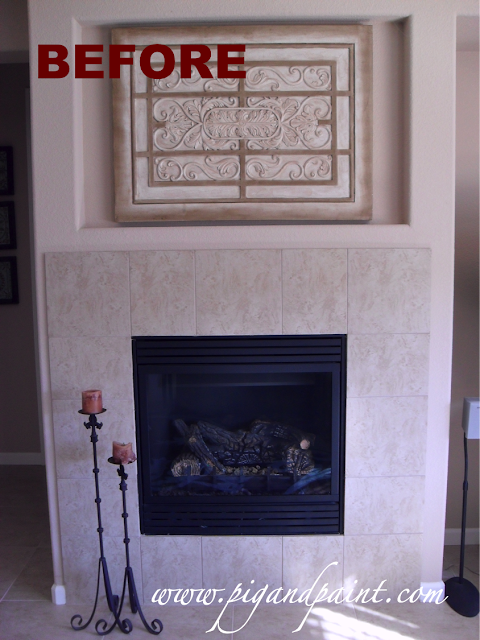
Just to recap, this is what I started with. Not horrible, but not "Wow!"
On Day 1, I removed all of tile and accidentally removed segments of the drywall with it.

On Day 2, I patched the holes with new drywall, and installed the mantel shelf.

And on Day 3 (today!), I started putting up the surround structure. I had some leftover 5" batten moulding from my master bedroom project, so I opted to use that to build my surround.

I busted out one of my favorite power tools....ah, the nail gun. Make sure you wear ear plugs and eye protection when you operate power tools!

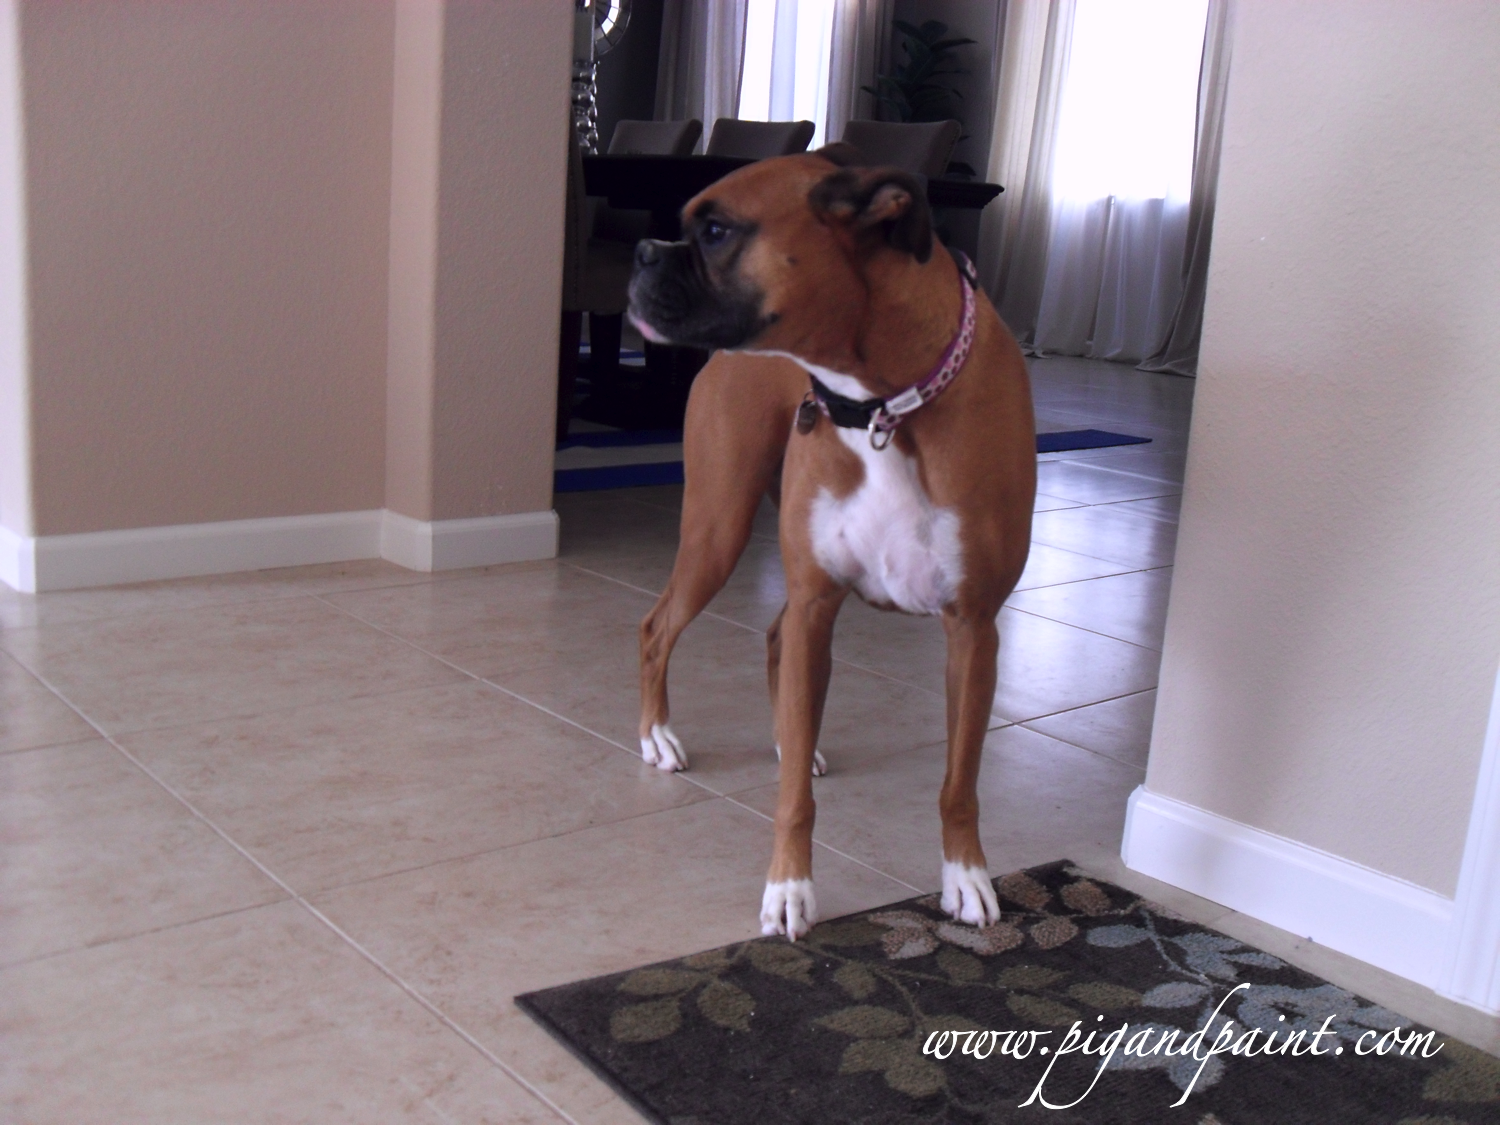
And this was officially the last I saw of my dog for the day. She thinks the nail gun is scary.

I installed the batten moulding in three layers, and achieved a depth of one and a half inches.

I installed the footer and two legs and took a step back to inspect my work. I wanted to make sure the space I left for my penny would be even on the top and bottom of the fireplace, so I started measuring and realized all I needed was to add a piece of two-by-four as a header, underneath the shelf.

I primed my two-by-four (which is not actually two inches by four inches.....it's one-and-a-half inches by three-and-a-half inches -- if you don't work with lumber much, it's important to keep in mind that things are not always as they seem).
I drilled some pilot holes and screwed that bad boy directly into the studs.


So, here's where I left off for the day....it's definitely not finished, but the structure is certainly coming together.

Cheers!

Just to recap, this is what I started with. Not horrible, but not "Wow!"


On Day 2, I patched the holes with new drywall, and installed the mantel shelf.


I busted out one of my favorite power tools....ah, the nail gun. Make sure you wear ear plugs and eye protection when you operate power tools!

And this was officially the last I saw of my dog for the day. She thinks the nail gun is scary.
I installed the batten moulding in three layers, and achieved a depth of one and a half inches.

I installed the footer and two legs and took a step back to inspect my work. I wanted to make sure the space I left for my penny would be even on the top and bottom of the fireplace, so I started measuring and realized all I needed was to add a piece of two-by-four as a header, underneath the shelf.

I primed my two-by-four (which is not actually two inches by four inches.....it's one-and-a-half inches by three-and-a-half inches -- if you don't work with lumber much, it's important to keep in mind that things are not always as they seem).
I drilled some pilot holes and screwed that bad boy directly into the studs.


So, here's where I left off for the day....it's definitely not finished, but the structure is certainly coming together.


Comments
Post a Comment