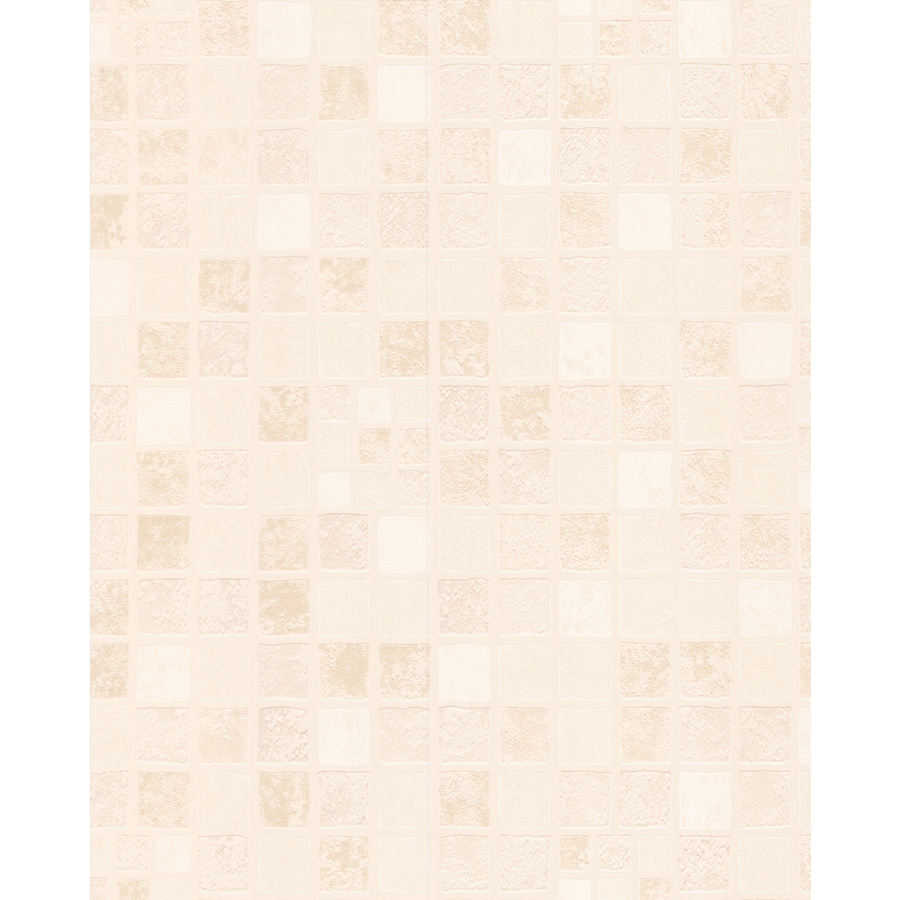
Faux Mosaic Tile Wallpaper
I have wanted to re-tile our master bathroom since the moment we moved into this house, but it was never high on the priority list. Not to mention, the kind of bathroom project I wanted to do wasn't cheap and would require more expertise than I possess. So, since I knew I wouldn't be doing anything in that room for awhile, I started making tiny changes here and there to make it temporarily more enjoyable.
I painted it when I painted our master bedroom. That helped. I also swapped out the light fixture for something a little more classy. And then, I found this pre-pasted faux mosaic tile wallpaper at Lowes. I remember thinking to myself, "This is either the stupidest thing I'll ever do, or the most brilliant."
For $13, I figured it was worth a shot. I ordered it. Once it was in my hands, I immediately fell in love. The hubs was bananas about it too. It's a thick, foamy textured wallpaper. If you've ever run across beadboard wallpaper, it's very similar to that.
If you've been around Pig and Paint for a while, you know that I'm a huge fan of wall liner to smooth out my heavily textured, orange-peel walls. I've used wall liner under wallpaper, to make chalkboards, and to produce a faux board and batten look in the master bedroom.
I put down a layer of wall liner, hung horizontally. And then I started laying down my wallpaper. Unlike laying "regular" wallpaper, when you are dealing with the textured stuff like this faux tile wallpaper or faux beadboard wallpaper, you'll get a better-looking end-product if you cut your wallpaper exactly to fit whenever possible, instead of leaving excess paper and trimming later. The foamy stuff just doesn't cut well and you'll inevitably end up tearing your wallpaper. So, take your time and measure carefully.
I took these next few pictures on my iPhone, so they are a bit dark. It was fun to watch it all come together!
 |
| {One sheet done!} |
I wasn't super pleased with how the wallpaper edge turned out around the window, so I trimmed the wallpaper back about half an inch, all the way around the window, exposing the wall. I picked up some window casing from Lowes and trimmed out the window.
The last and final step was to caulk around the edge of the wallpaper, along the ceiling, shower, bathtub, and window. I also caulked in between the wallpaper seams to cover spots where I apparently hadn't done a great job getting the paper to lay flat or bump up close enough to the previous sheet. This was GENIUS, if I do say so myself. Not only did it cover up all of my indiscretions, but it will prevent moisture from getting under the wallpaper in the future. {patting self on back}
So.....this was $13 and a couple of hours very well spent. It was a risk. I was really worried quite literally until the very end of the project that this would look cheesy. But, I'm telling you, it turned out AWESOME. So, until the day we're ready to do a much bigger reno job on this bathroom, I'm very pleased with this inexpensive, yet impactful solution.
What do you think? Would you ever put faux tile wallpaper in your home?
Cheers!!


This comment has been removed by the author.
ReplyDelete